In the following Quick Tip tutorial you will learn how to use Custom shapes, Brush Tool, and Gradients in Adobe Photoshop CS5 to create smooth and colorful abstract background. You can use these techniques and elements to create your own fantasy poster! Layered PSD file included. Let’s get started!
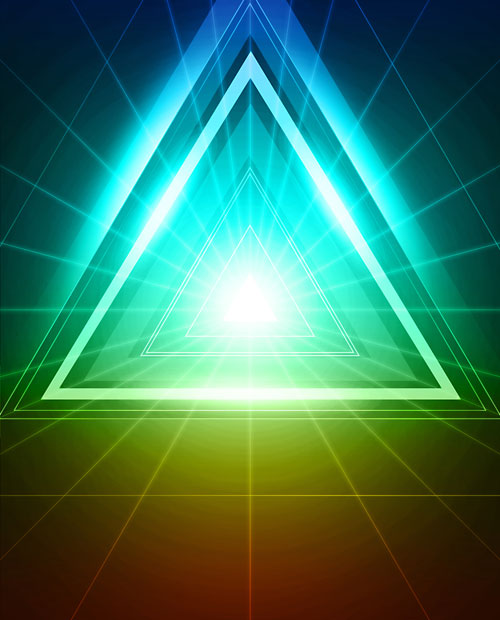
Final Image Preview
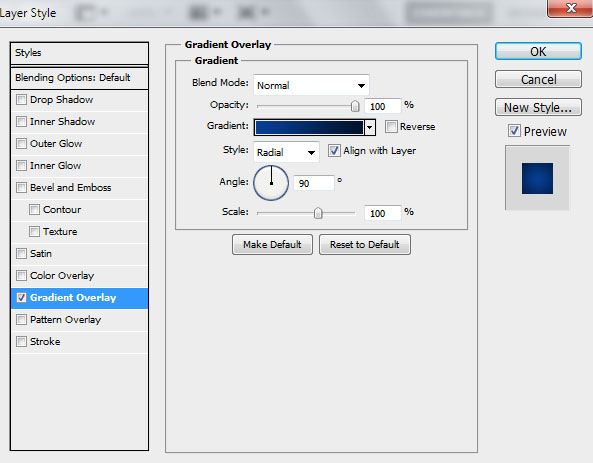
Start working by creating a new document (Ctrl+N) in Adobe Photoshop CS5 with the size 1250px by 1550px(RGB color mode) at a resolution of 72 pixels/inch. Click on Add a layer style icon from bottom part of theLayers panel and select Gradient Overlay.
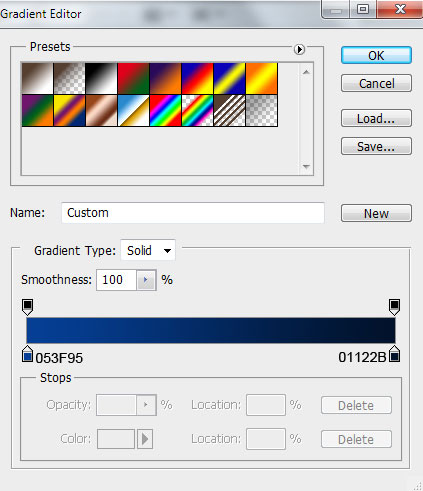
Click in the color bar to open the Gradient Editor and set the color stops as shown. Click OK to close theGradient Editor dialog box.
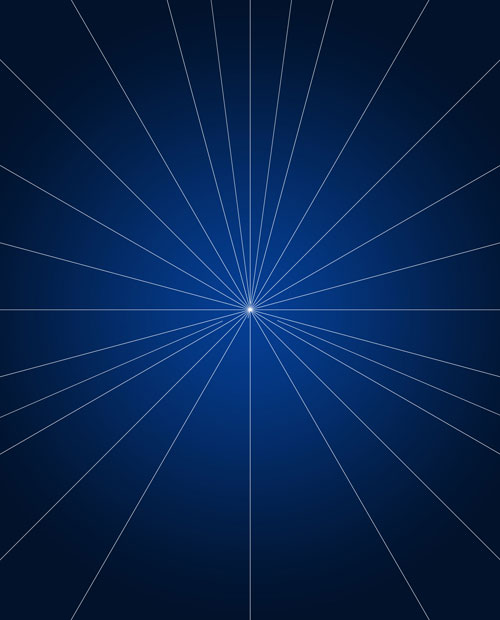
We’ve got the next background for our poster:

Choose after that the Line Tool (U) and set Weight to 1px in Options bar to draw the next lines of white color.
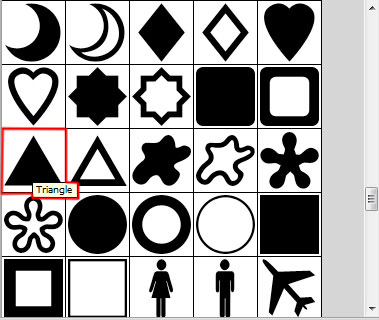
Select the Custom Shape Tool (U) in the Tools bar, in the Options bar click the Shape to open the selection menu. Find Triangle at the bottom of the menu, and then double-click a shape thumbnail to select it.
Click and drag to draw the triangle.
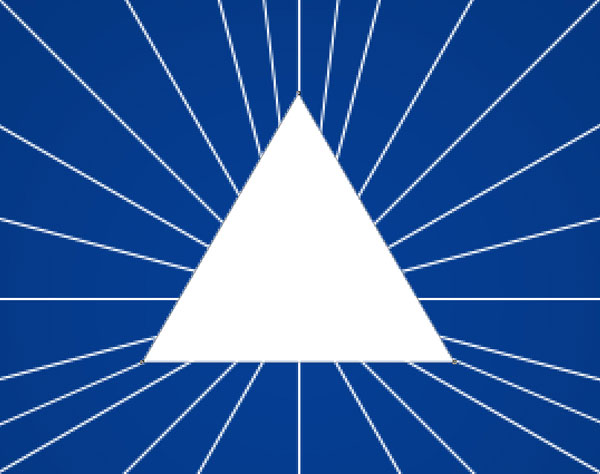
We’ve got the next result:

Using the same procedure, we have to represent the next triangle, applying the previous tool.
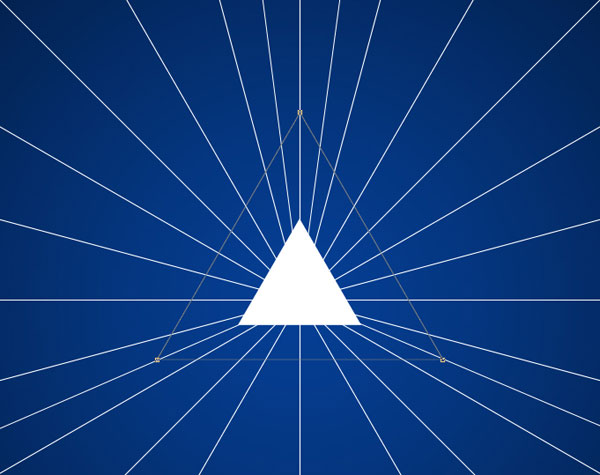
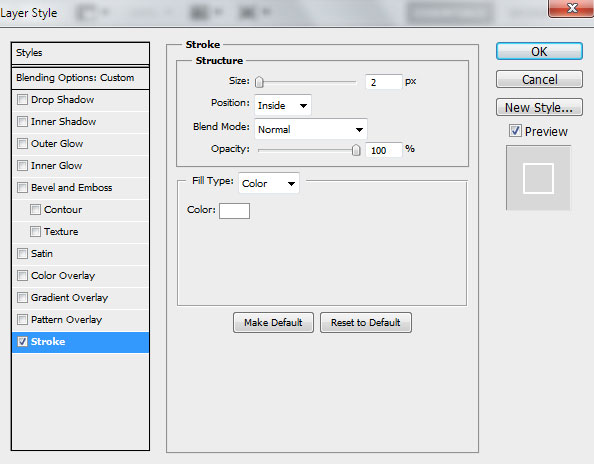
Set Fill to 0% for this layer and click on Add a layer style icon from bottom part of the Layers panel and select Stroke.
We’ve got the next result:

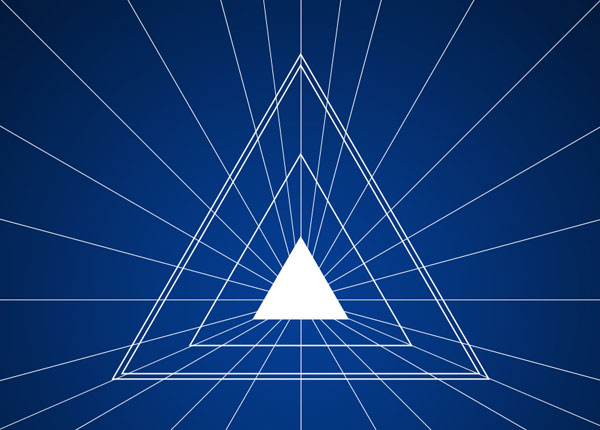
Make two copies of the last made layer and select the Free Transform (Ctrl+T) command to change the copies’ sizes, placing them as below.
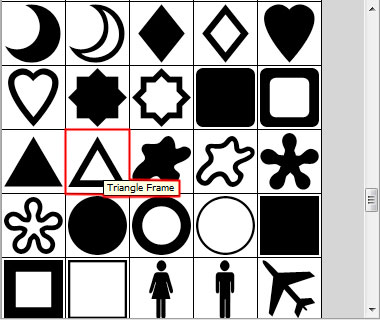
Select the Custom Shape Tool (U) in the Tools bar, in the Options bar click the Shape to open the selection menu. Find Triangle Frame at the bottom of the menu, and then double-click a shape thumbnail to select it.
Click and drag to draw the triangle frame.
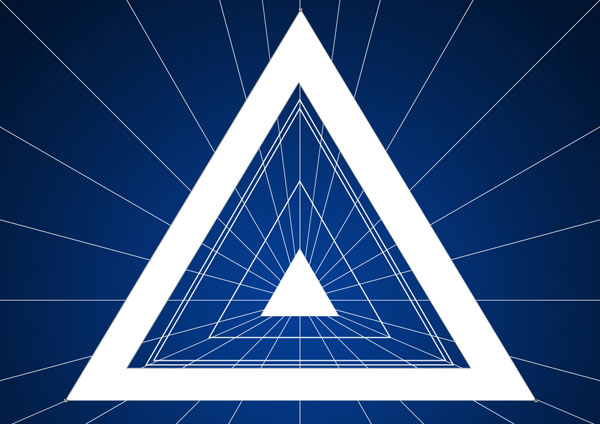
Set Fill to 16% for this layer.
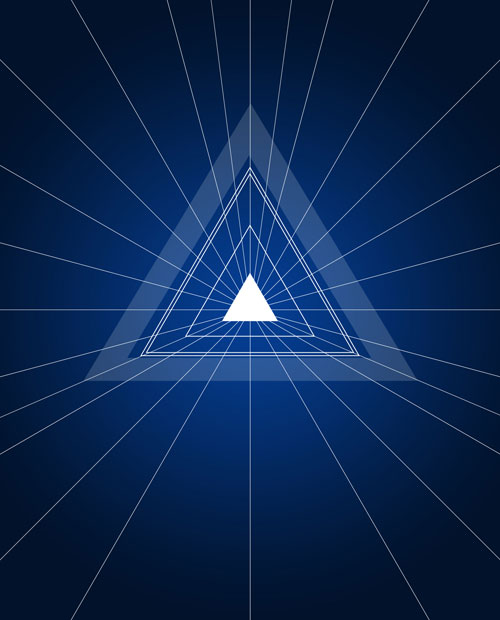
Make a copy of the last made layer and select the Free Transform (Ctrl+T) command to change the copy’s sizes, placing it as below:
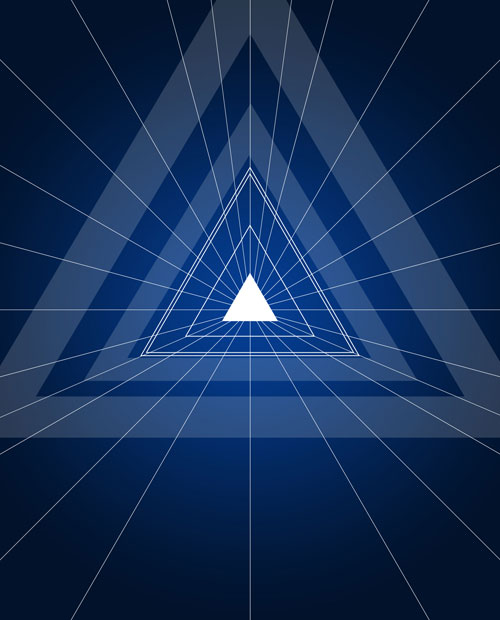
Insert the mask on the layer containing the triangle’s copy by choosing Add layer mask on the bottom part of the Layers panel and choose the Soft Round brush of black color.
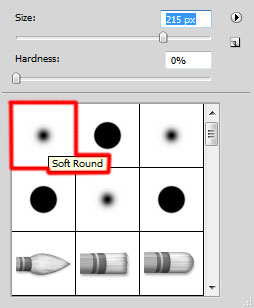
Paint in the mask using this brush to hide the bottom part of the layer.

We’ll draw the next triangle. Use the Custom Shape Tool (U) to represent first triangle with white color. PressAlt button or select Subtract from shape area (-) from Options bar and draw another triangle to cut the middle part as shown.

We’ve got the next result:
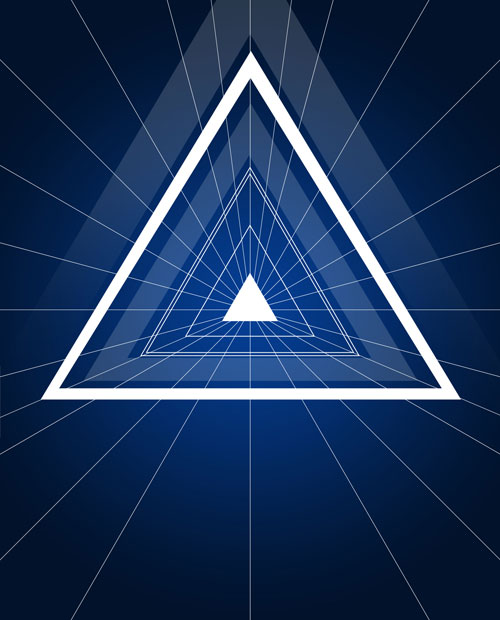
Set Fill to 68% for this layer.
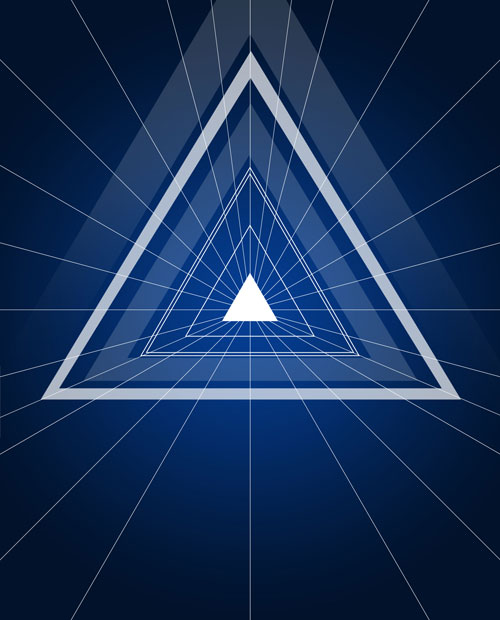
Create a new layer and create the next selection using the Elliptical Marquee Tool (M). Make a right click inside the selection and use Transform Selection to rotate the selection as shown.
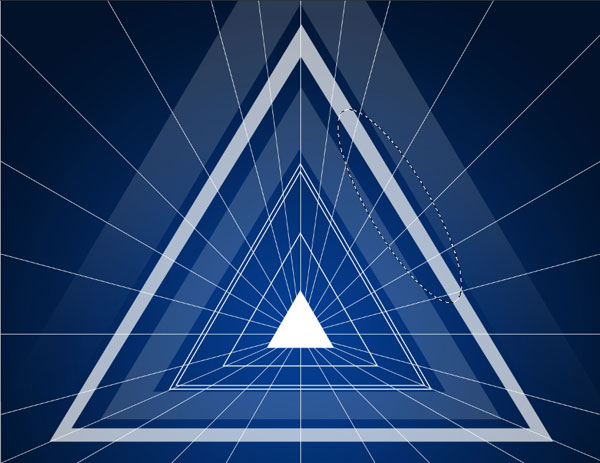
Make a right click inside the selection and set Feather to 20%, again right click inside the selection and use Fillto fill the selection with white color.
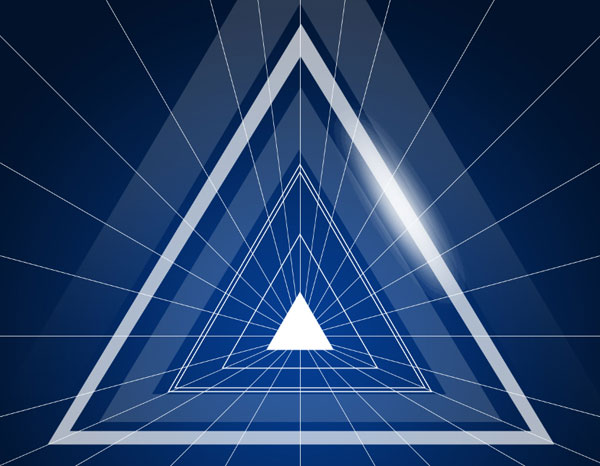
Make two copies of the last made layer and select the Free Transform (Ctrl+T) command to change the copies’ sizes and place them as below.
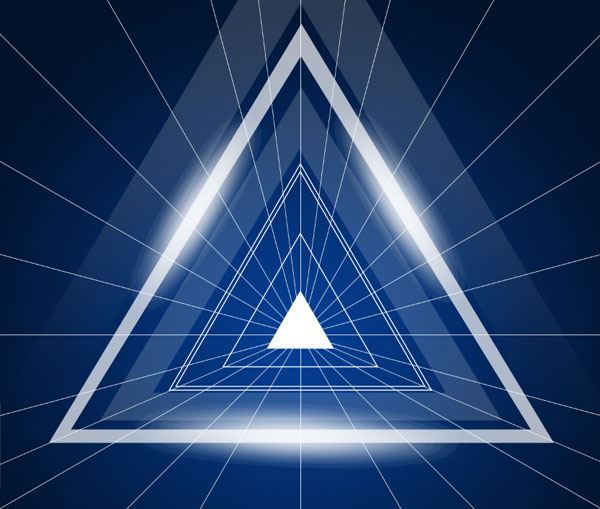
Select the Custom Shape Tool (U) in the Tools bar, in the Options bar click the Shape to open the selection menu. Find Triangle at the bottom of the menu, and then double-click a shape thumbnail to select it. Click and drag to draw the triangle.

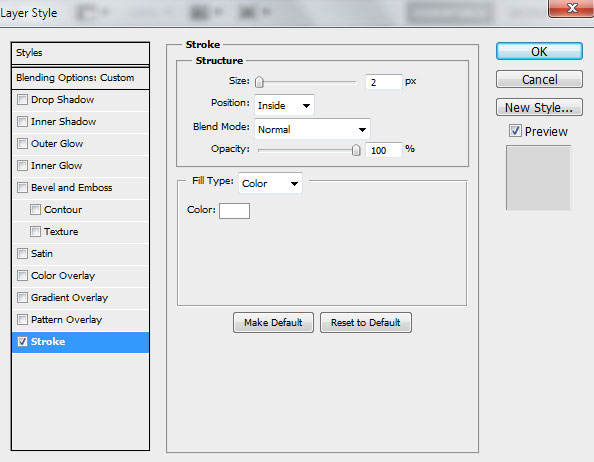
Set Fill to 0% for this layer and click on Add a layer style icon from bottom part of the Layers panel and select Stroke.
We’ve got the next result:

Insert the mask on the layer by choosing Add layer mask on the bottom part of the Layers panel and choose the Soft Round brush of black color (set Opacity to 15% in Options bar).
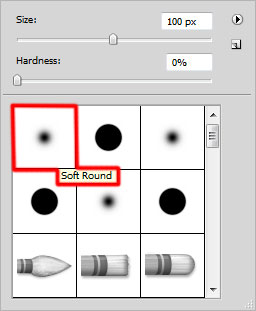
Paint in the mask using this brush to hide the next zones on the layer as shown.

Make a copy of the last made layer and select the Free Transform (Ctrl+T) command to change the copies’ sizes, placing them as below. Remove the mask on the copy’s layer.
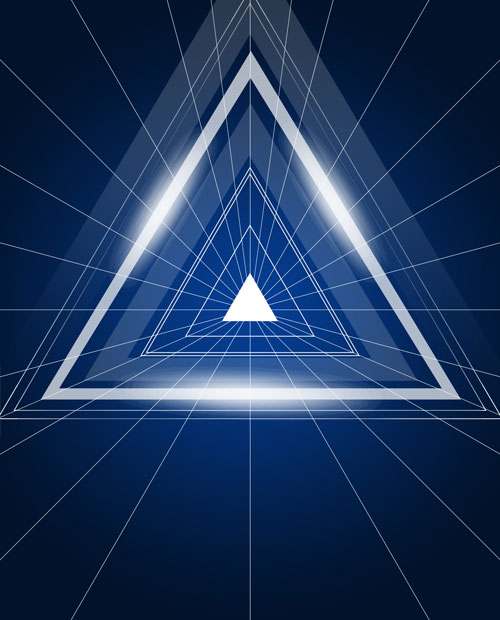
Create a new layer and use the Soft Round brush of white color (set Opacity to 20% in Options bar) to represent the next highlight.
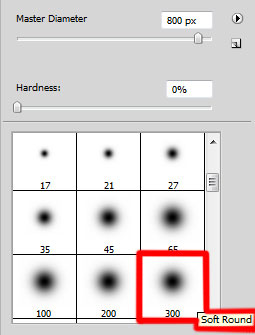
We’ve got the next result:


Press DELETE button.

Now press Alt button and insert the mask on the layer by choosing Add layer mask on the bottom part of theLayers panel and choose the Soft Round brush of white color.

Paint in the mask using this brush on those fragments of the triangle that need to be lighter.

Select the Custom Shape Tool (U) in the Tools bar, in the Options bar click the Shape to open the selection menu. Find Triangle at the bottom of the menu, and then double-click a shape thumbnail to select it.

Click and drag to draw the triangle.

Set Fill to 0% for this layer and click on Add a layer style icon from bottom part of the Layers panel and select Stroke.

We’ve got the next result:
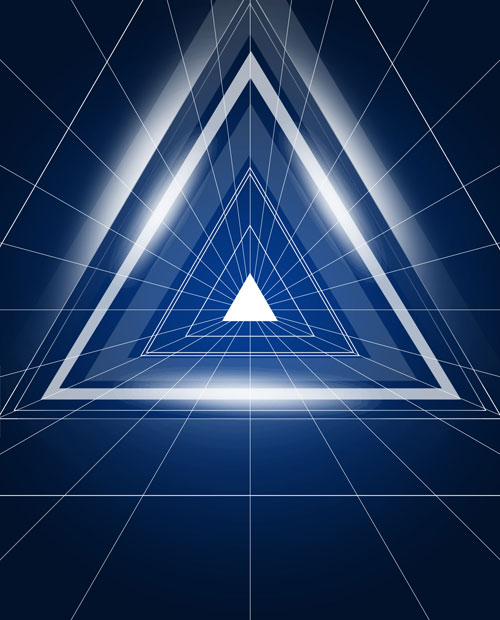
Insert the mask on the layer by choosing Add layer mask on the bottom part of the Layers panel and choose the Soft Round brush of black color (set Opacity to 15% in Options bar). Paint in the mask using this brush hide some zones on the triangle as shown.

Combine in a group all the layers containing lines created before (press CTRL button to select the necessary layers and hold on the left mouse’s button while dragging the selected layers on Create a new group icon from bottom part of the Layers panel). Set Opacity to 26% for the group.

Make a copy of the got group, select the group in Layers panel and press CTRL+E to Merge Down. Apply the next filter for the rasterized layer: Filter > Blur > Gussian Blur:

We’ve got the next result:

Insert the mask on the layer by choosing Add layer mask on the bottom part of the Layers panel and choose the Soft Round brush of black color.

Paint in the mask using this brush to hide the lines’ edges as shown:

Make a copy of the last made layer and remove the mask. Create a new mask and select the mentioned above brush to hide the lines’ edges.

Create a new layer and select the Soft Round brush of white color (brush Opacity – 15%).

Use this brush to represent a highlight as shown.

Create a new layer and select the Soft Round brush of white color (brush Opacity – 10%).

Use this brush to make lighter the top part of the canvas.

Set Fill to 32% for this layer.

Next use the Rectangle Tool (U) to draw the next rectangle as shown.

Set Fill to 0% for this layer and click on Add a layer style icon from bottom part of the Layers panel and select Gradient Overlay.

Click in the color bar to open the Gradient Editor and set the color stops as shown. Click OK to close theGradient Editor dialog box.

We’ve got the next result:

Click Create new fill or adjustment layer from bottom part of the Layers panel and click to Curves to adjust the curve shape as shown to make a little color corrections.

We’ve got the next result:

Next put together all the layers into a single rasterized layer. Select all the layers in Layers panel and pressCTRL+E to Merge Down. Apply then on the rasterized layer the next filter: Filter > Sharpen > Unsharp Mask.

We’ve got the next result:

Make a copy of the last made layer and choose for the copy’s layer the next filter: Filter > Blur > Gaussian blur.

We’ve got the next result:
Set the Blending mode for this layer to Pin Light.

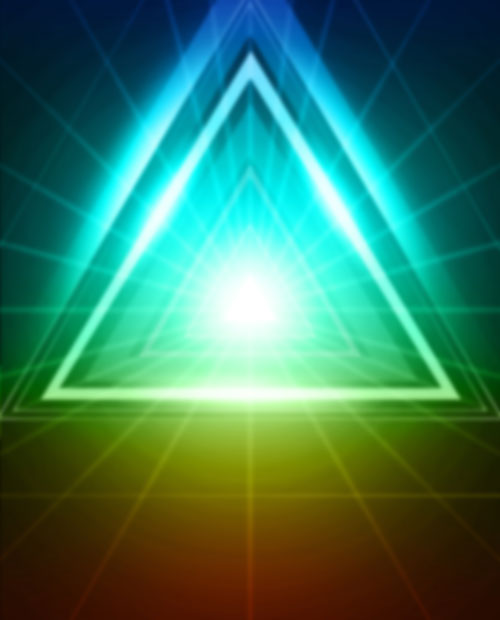
Our Colorful Abstract Fantasy Background in Photoshop CS5 is finished!
Source : Adobe Tutorialz


